
I LOVE file folders. Indeed, I ADORE file folder activities.
I discovered this ingenious idea when I was searching the internet for ways to make fun activities for my daycare kiddies. I had lots of ideas to teach them concepts but I wasn’t very fond of the idea of printing things over and over again. When I discovered this idea of turning file folders into reusable teaching resources, I was all over it 😀
I have made many since my daycare days. When I had to close the daycare because of my health issues, other caregivers actually offered to buy them from me 😀 I sold a few, but gave away most.
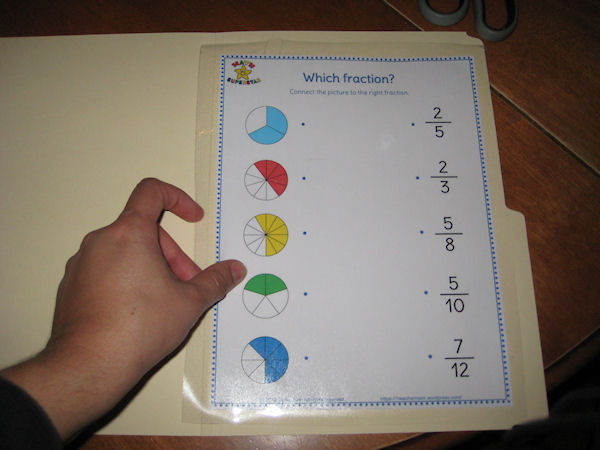
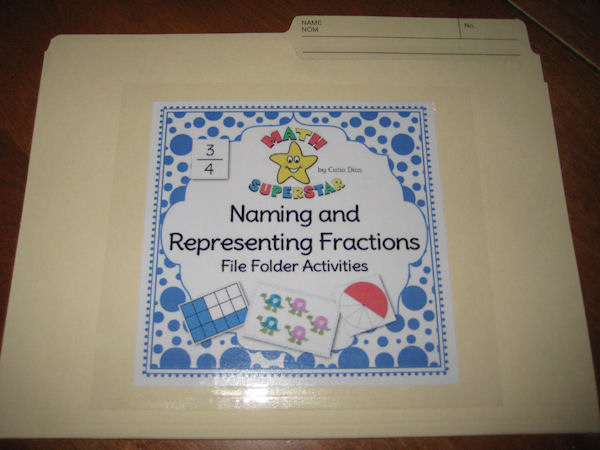
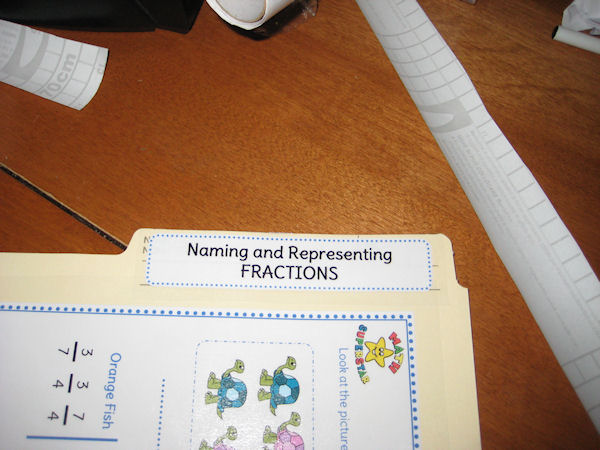
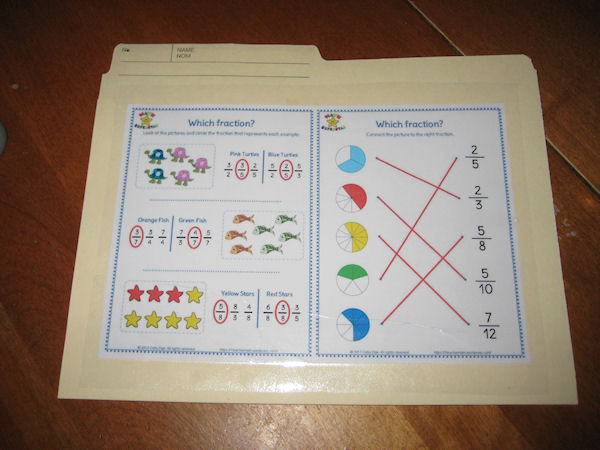
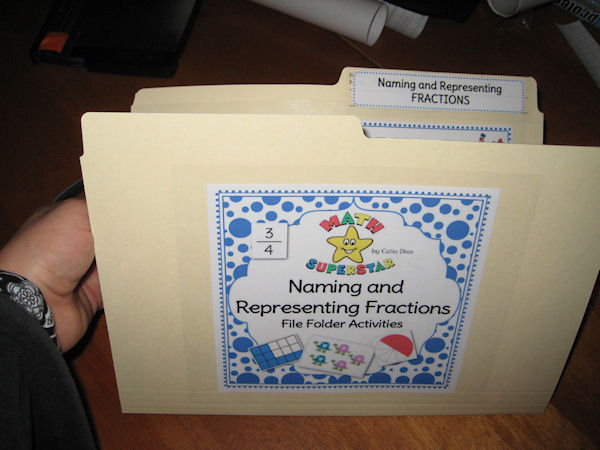
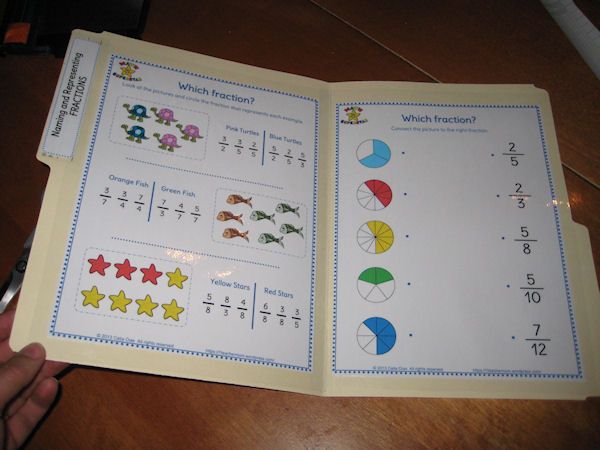
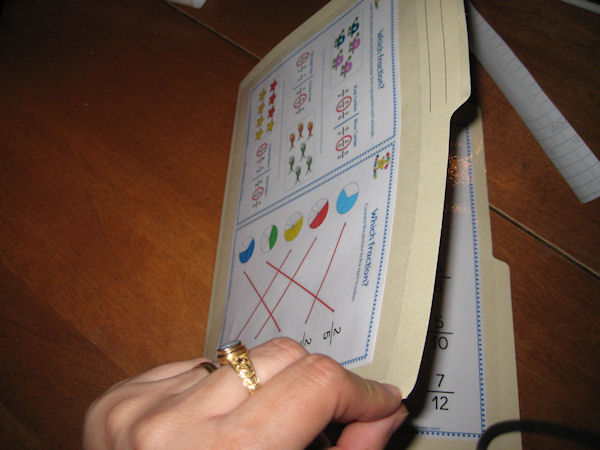
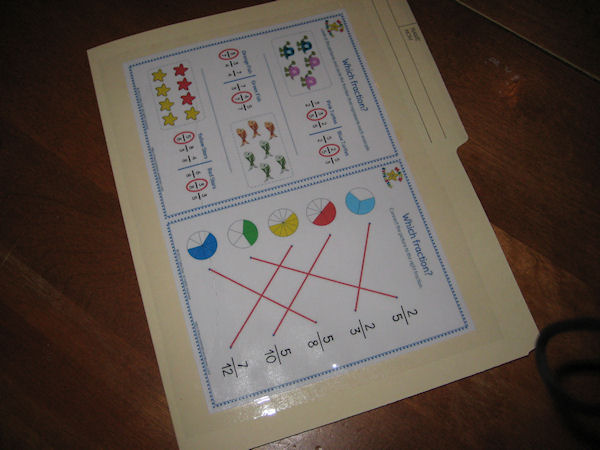
Here are some photos of my daycare file folders in action:
File folders are excellent as center activities since they provide the opportunity for independent learning. They can be used as a teaching aid, as a practice resource and you can even send them home for homework.
I am especially in love with them because they are easy to make, use and store. After the children have used them, you just have to collect them, fold them and store them away in a neatly fashion. PLUS, a big bonus, is that you are saving natural resources by not printing the same activities over and over again.
Here is a tutorial on how I assemble my file folders. There are lots of ways to make and organize them. This is the way I make file folders dedicated to use with white board markers.
File Folder Assembly Tutorial
1- Print all the pages you will be using for your file folder activities.
2- Gather all your supplies. You will need file folders, contact paper (for laminating), scissors and, if available, a paper cutter.
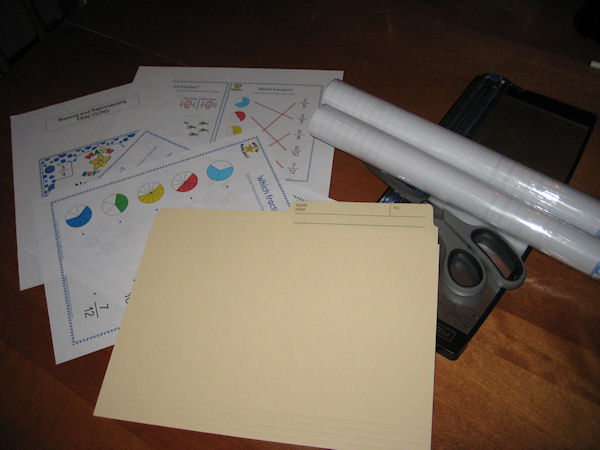
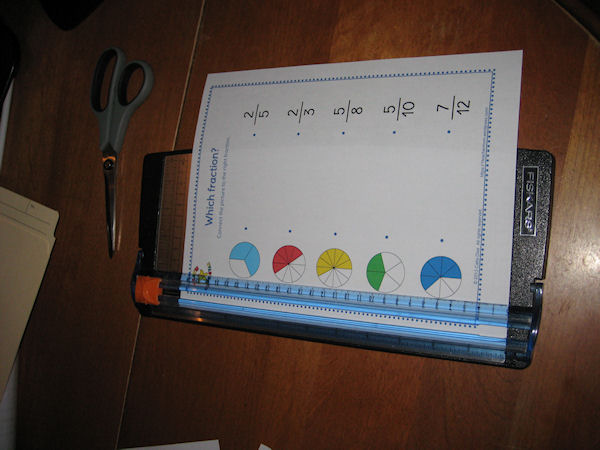
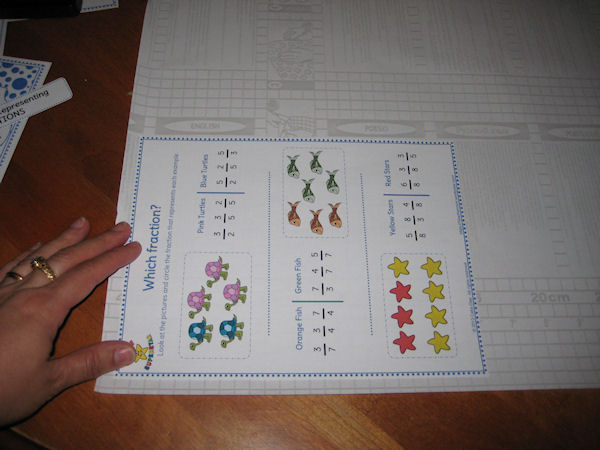
3- With the help of a paper cutter or scissors, trim the white edges around each component of your file folder.
4- Open the contact paper and lay your pieces on it. Measure about 1 or 2 fingers around all the edges.
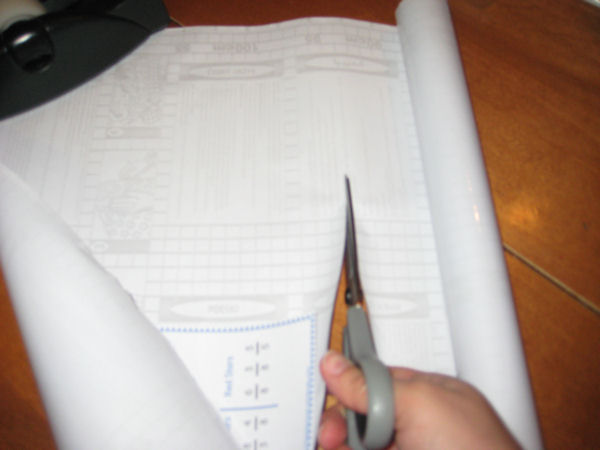
5- With the assistance of scissors, cut the contact paper.
6- Peel the protective cover of the contact paper and lay the contact paper on your working surface with the sticky side facing up.
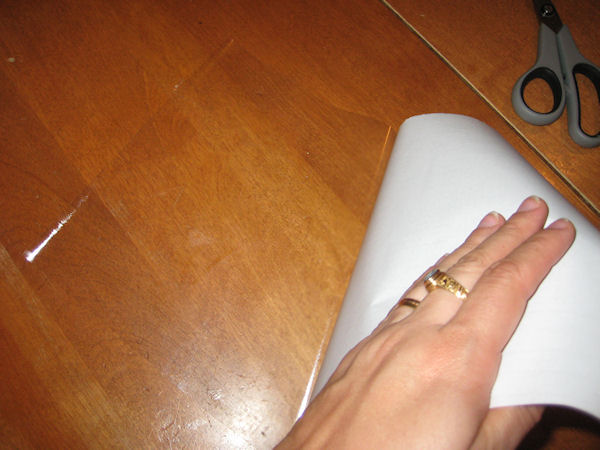
7- Place your paper piece on top of the contact paper with the right side down. Make sure you place it carefully. Smooth it down.
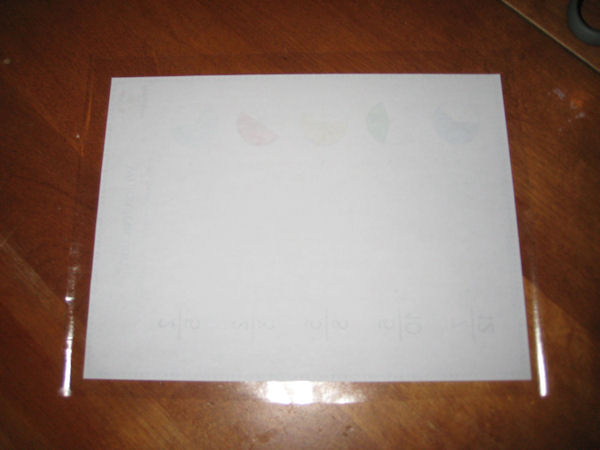
8- Gently turn the piece around and place it on its respective place on the file folder. Smooth it down and make sure there are no air bubbles.
9- Repeat the process for all the other pieces.
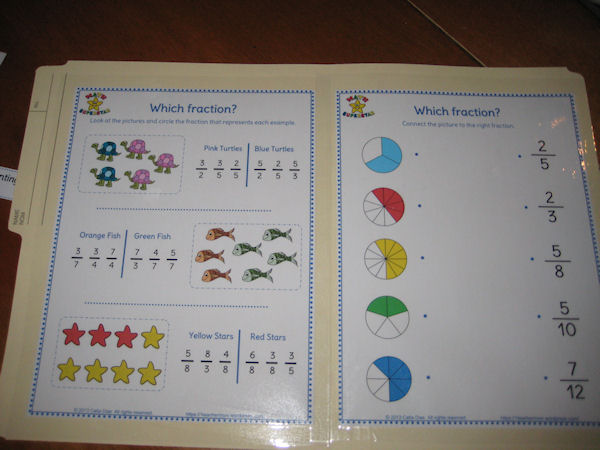
10- Sit back and enjoy the beautiful teaching resource you just made. Hand it to your students and watch as they enjoy themselves while learning 😉 .

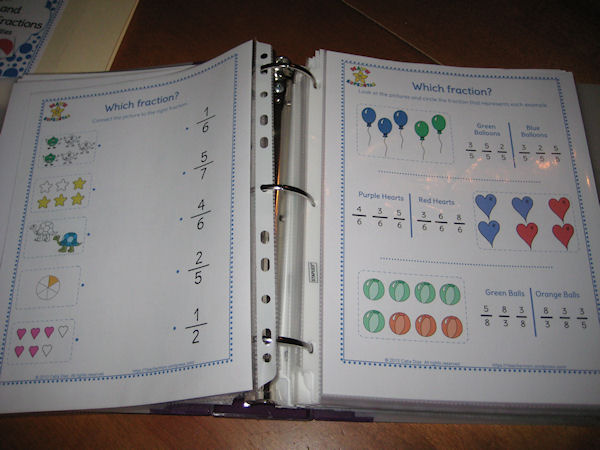
11- If you don’t necessarily want to make file folders, you can also use these activities in a reusable binder. Just place each sheet in a sheet protector and let your students enjoy these activities with the help of a white board marker and a cloth.
NOTE: if you notice that your students forgot to wipe the white board marker from your file folder or sheet protectors; and it has become dry; do not despair. Just pour a little alcohol on a cloth or tissue paper and wipe. It will all come off 🙂 .
There! Doesn’t that look easy? Go on, give it a try, you might like it 😀
Take care,
Catia
